
 Hubby and I love Italian food, which is probably because we are Italian haha. When people think of Italian food the first thing that most people think of is spaghetti. In my house we love spaghetti, but we are spoiled. In my house I cannot bear to serve my family store bought sauce especially when I know how to make my own. Hubby cannot eat spaghetti sauce when we go out either. He will look at his plate, back up at me, and pitifully proclaim, “Its not your sauce” and then pout. Not gonna lie, I kinda enjoy when he does that. I take pride in what I cook and serve my family and so should you! Now my recipe is a mix of my style and my great-grandmothers recipe all mashed into one. Its a simple sauce with great flavor that I always make a big batch of.
I used to simply freeze my sauce, but now I pressure can it. Sounds scary right?! I was terrified of it until I actually did it. I researched how to do it, watched tons of videos, and talked to a lot of people. The canner sat in my house staring at my for about a month before I used it. I don’t know why I waited. It was so easy to use and preserves not only high acid foods safely but also low acid foods like fruits and veggies compared to the traditional water bath canning method. I chose pressure canning to save room in my freezer as well as preserve the freshness of my sauce and store it in my pantry for long periods of time.
So back to my sauce. This recipe is enough for 4 quarts full. 1 quart is enough for 2 spaghetti dinners for the hubs and I, and each spaghetti dinner always has leftovers haha. So some people use fresh tomatoes and I would love to do that but seeing as it is winter and they really aren’t in season, I used canned which still works fine. If you can find imported Italian canned tomatoes those are even better! Here are the ingredients.
- 3 big cans crushed tomatoes
- 2 regular sized cans of diced tomatoes (no salt added)
- 1 12oz can tomato paste
- 1 lb 93% hamburger
- fresh basil, oregano, and parsley
- dried marjoram
- dried oregano
- dried basil
- crushed red pepper flakes
- 3 bay leaves
- salt & pepper
- 1 tsp baking soda
- 1 1/2 tsp brown sugar
- 1 onion finely diced
- 3 cloves garlic chopped
- olive oil
In a big sauce pan turn the heat up to medium and add some 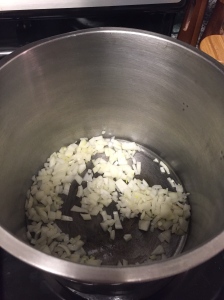 olive oil. Put in your onions and let them cook till almost translucent then add in the chopped garlic. The reason I like doing this is it really releases some good flavor to begin with and adds I feel more depth to the sauce compared to simply putting the onions in raw. Although they still get cooked that way. It still has a sorta raw taste where this just “kicks it up a notch”.
At this point your going to add the crushed and diced tomatoes into the pot. As you know Im a huge fan of season to taste so I will try to direct you as accurate as I can but my preferences may differ from yours so taste as season as you see fit. I add a few cranks from my pepper mill for some salt and pepper. This is when I add my dried herbs. I use a mix of fresh and dried as i personally find they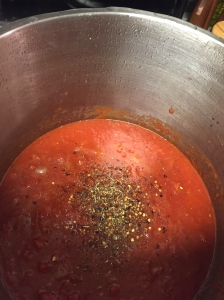 have different flavors and I incorporate dried in the beginning of cooking and add some fresh as soon as I’m done. So when seasoning with dried keep in mind we will be adding a touch more at the end so don’t over season it. It should taste almost perfectly seasoned once you’ve dried herbed it up. I begin with 2 tsp each of the dried herbs, 3 bay leaves, and crushed red pepper flakes. Turn the heat down to low and cover your pot and let it simmer for a good 2-3 hours. Taste it after it cooked this long to see if you need more of anything. The raw tomato taste will have tamed down at this point as well.
Now cook up your hamburger. Use like 93% lean hambu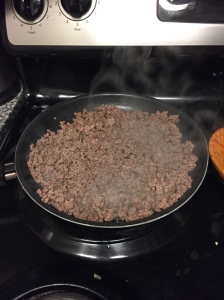 rger so theres not a lot of drippings but just enough that it can all be added to the sauce. You want to add flavor but not make it disgustingly greasy. Make sure when you cook it you try to get it broken up into very small bits. Once its done cooking dump it into your sauce and give it a good stir. If you notice a lot of grease beforehand try and get some of that out, you only want 1-2 tbsp of the meat liquid into the sauce for a little flavor. Let that simmer another hour or two.
Now add in the baking soda. this will help take away some of the acidic bite that comes with the sauce. Do not add more than a tsp as that can do two things. create a sauce “bubble bath” and 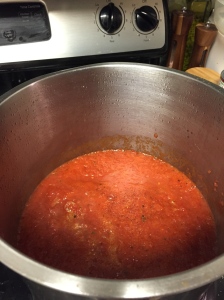 change the flavor. When you add the baking soda you will notice some small bubbles going on like in the picture. That is normal and ok, do not panic haha. After that calms down add your brown sugar. Don’t overdo it with this either or you will get a very sweet sauce which to me is just no. I like a hint of sweet but over sweet is something that can completely ruin your pasta dish. Let it simmer another hour. We do a lot of simmering. It helps develop great flavor!
Now its time for some fresh herbs!!!!
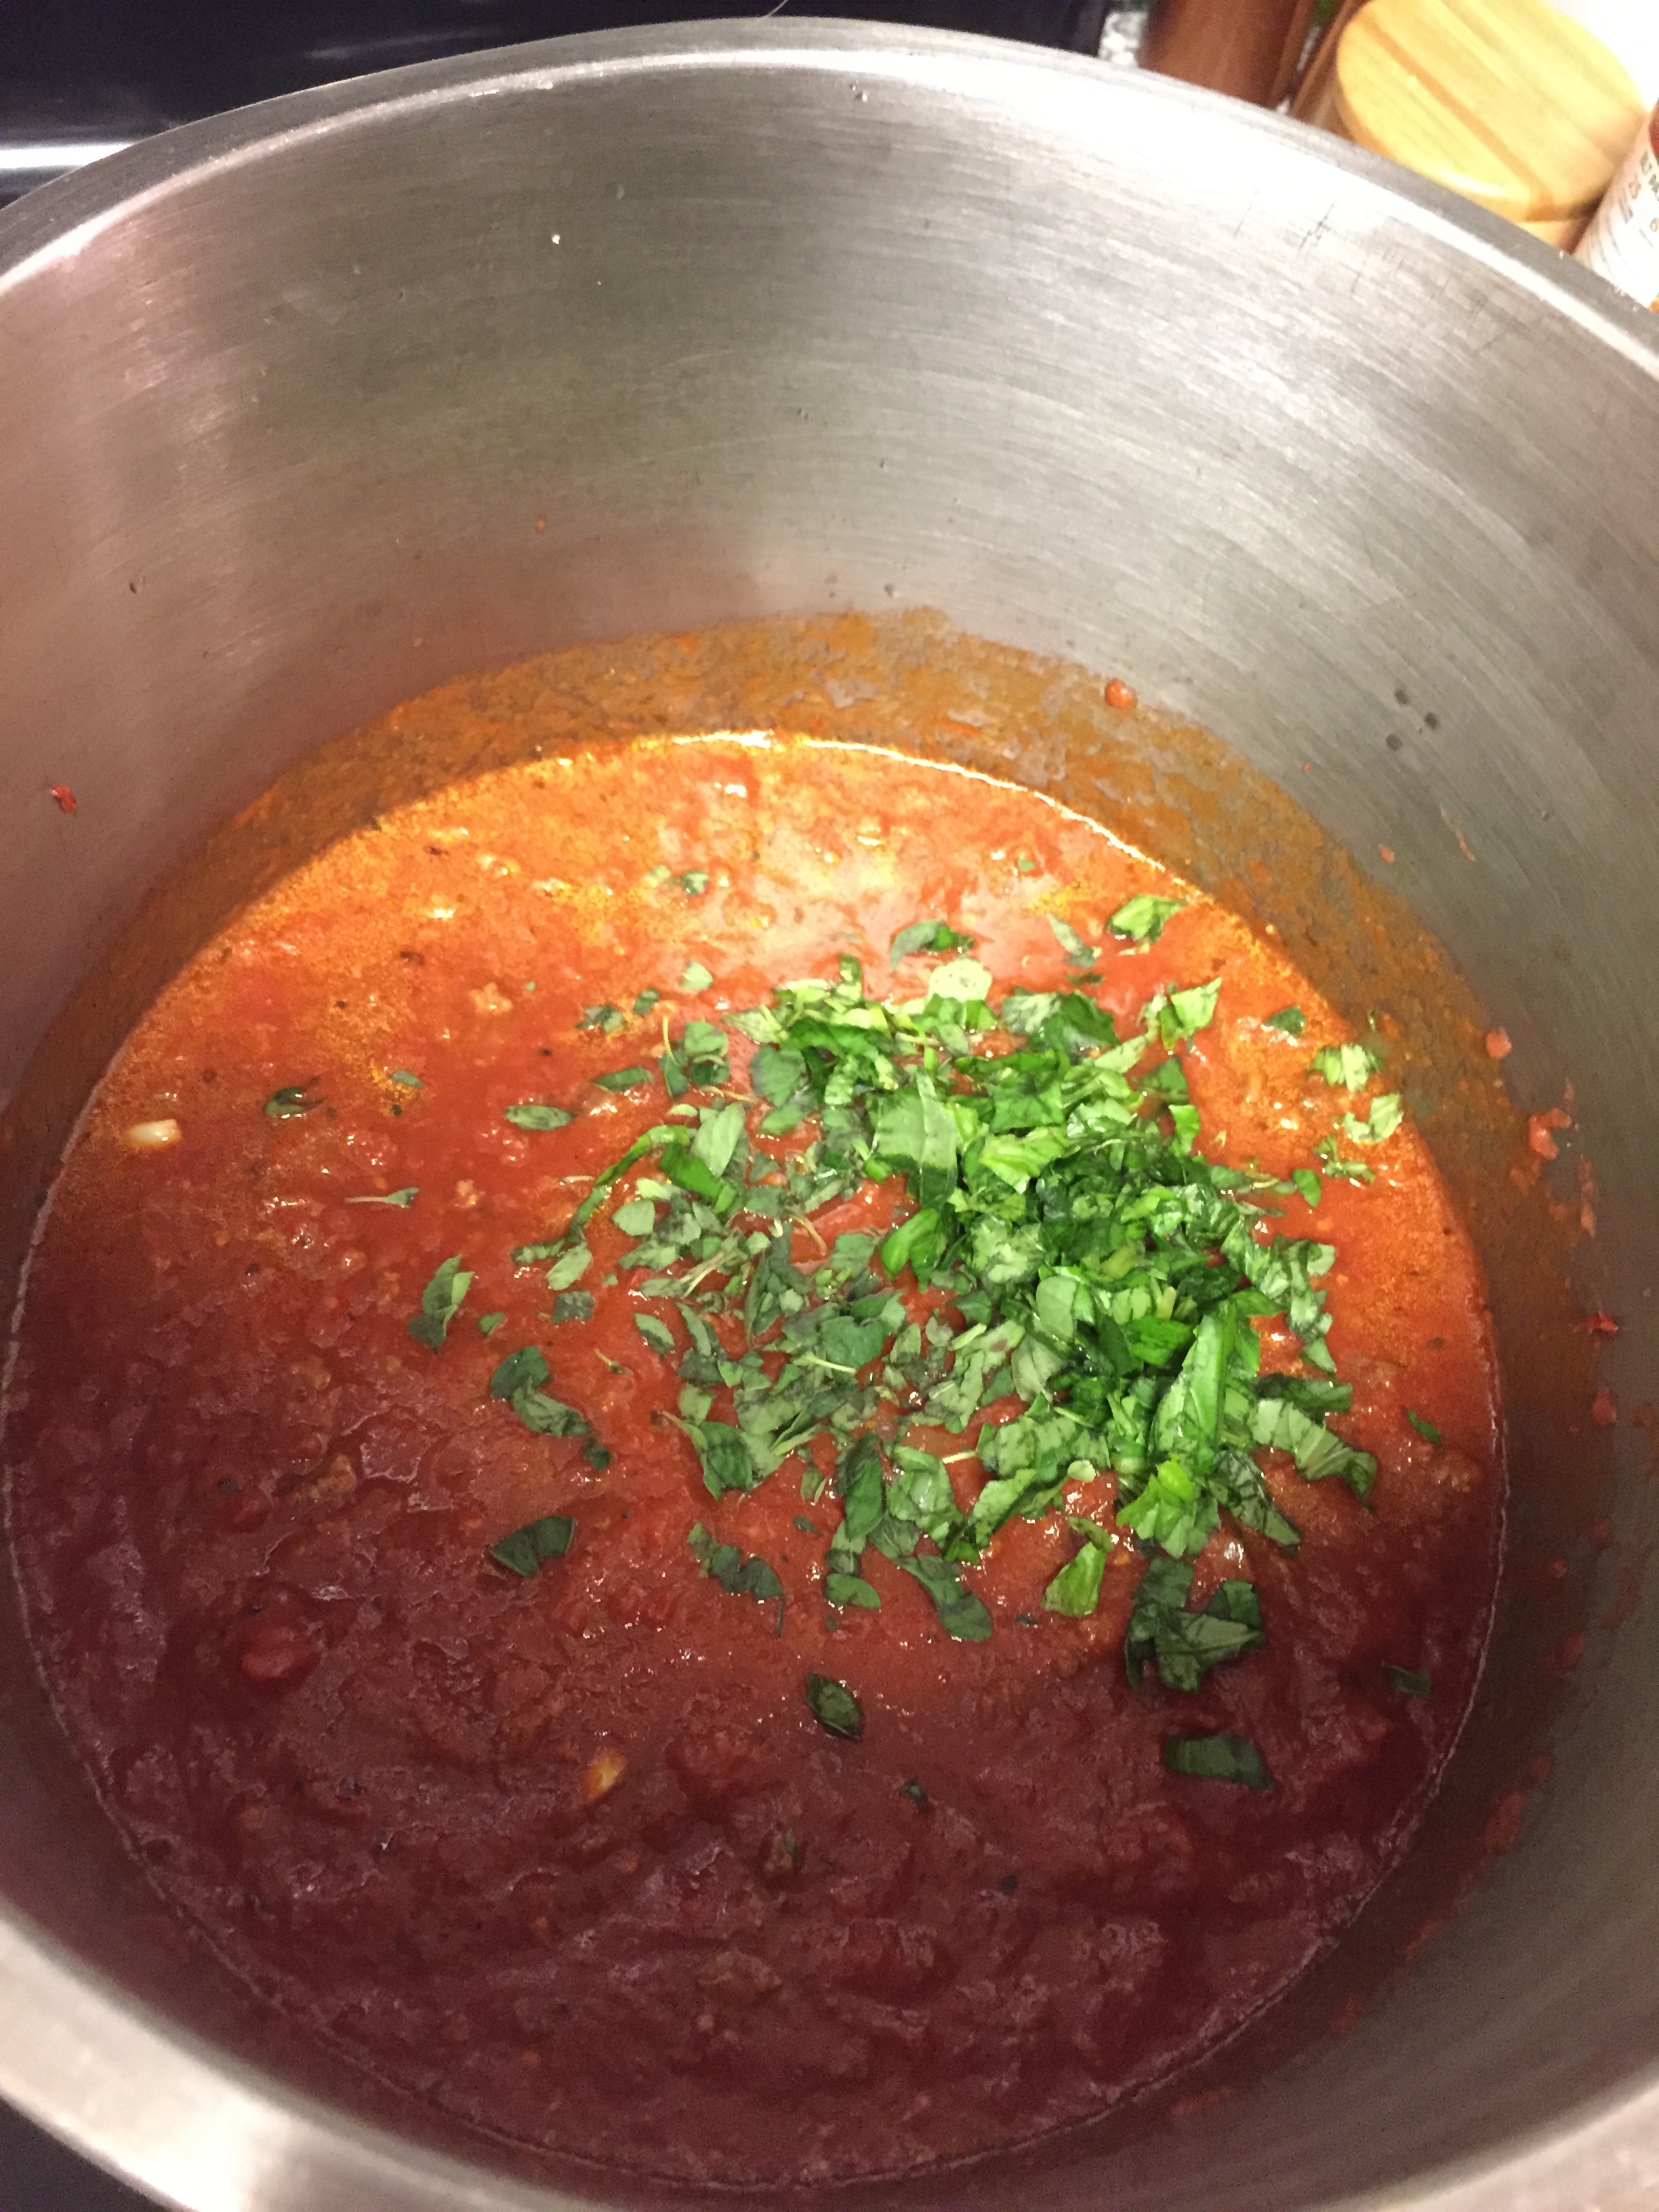
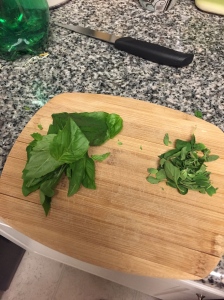
I couldn’t find fresh parsley and since hubby sadly killed my parsley plant, “Pierre”. I was without that, I normally put it in so if you can get some, use it!! As you’re chopping up those herbs please take a moment to breath in and really take in that fresh herb aroma. I love it. I truly believe cooking is therapy for your soul. I become so relaxed in the kitchen. 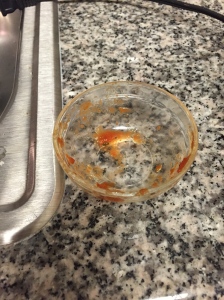
Now in my house to taste test, I put some sauce in a small bowl and serve it with bread and butter to dip and taste. Before I even go a picture of my taste test bowl, hubby got to the sauce. Needless to say, Hubby greatly approves. I got one or two dunks in there and it really was fantastic. Bread, butter, sauce… nothing compares , perfect tester right there. Empty bowl means success right? Thats how I took it haha.
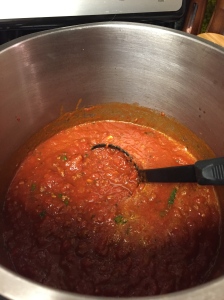
Sauce is now done!!!
So now This is the part where I put it in the pressure canner. If you want to just eat it fresh over spaghetti, gift, or freeze the rest feel free to stop reading and get cooking. Or if you want to know how to pressure can it to try for yourself or just out of curiosity, feel free to continue reading!
I use a big 23 quart pressure canner from Presto. My in laws gave me birthday money and I decided to put it towards this. Shout out to my awesome in laws for my birthday canner!!! Before you get started, if you’ve never done it before, please read the manual. Also clean the canner with hot soapy water!!!
Basically all that you do is get the canner all set up. Put the canning rack in the bottom. Fill with 3 quarts hot water. Add your cans. Now make sure you use appropriate canning jars, like from Ball with the 2 part lids. Fill your jars leaving 1in of space at the top, and use a tool to eliminate air bubbles. Put the lid on the jars and place in the canner. Now place the lid on the canner and turn your stove on high. Get a steady flow of steam coming out of the vent for a good 10 minutes then put the pressure regulator on. Let the pressure get up to 11 PSI and keep it there for 75 minutes for quarts.
I repeat 11 PSI for 75 minutes for spaghetti with meat sauce in quarts.

If it falls below 11 PSI…. start again. You only begin counting the 75 minutes once you get to 11 PSI, not before. Adjust the heat on the stove accordingly to maintain that pressure.
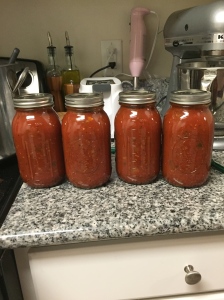
Once the 75 minutes is up. Life the canner and place it on a cool burner so the pressure can come down. Let it do so naturally. DO NOT TRY TO OPEN OR COOL IT DOWN YOURSELF. Once pressure hits zero, and the little pressure pop lock has dropped. You can take the pressure regulator off. If no steam comes out. Open that bad boy up and slowly take out the cans with a jar lifter. They will still be bubbly boiling hot. Let them sit till they cool down naturally. At this point screw off the lids and wipe the jars down. Screw the lids back on and store your freshly pressure canned sauce!!!
 It sounds complicated but I swear its not. I hope you give it a try. Even if you don’t pressure can it, just give my homemade sauce a go! Its easy, simple, and delicious! I serve it over freshly made pasta and top it with some yummy freshly grated parm. Give it a go and let me know what you think! Enjoy!

One thought on “Mrs. H’s Homemade Spaghetti with meat sauce (with pressure canning instructions)”